In the age of digital photography, capturing the perfect shot has become easier than ever. However, even the most carefully composed images can be marred by unexpected elements. Whether it’s a photobomber ruining a scenic landscape or a stray object cluttering an otherwise pristine product image, unwanted objects in photos can be a frustrating problem. Fortunately, with tools like ObjectRemover.Pro, anyone can learn to eliminate these distractions and create flawless images. This comprehensive guide will walk readers through the process of using ObjectRemover.Pro to effectively remove unwanted objects from their photos.
Introducing ObjectRemover.Pro
ObjectRemover.Pro is an online platform that utilizes artificial intelligence to simplify the object removal process. By leveraging advanced machine learning algorithms, this tool can analyze images and intelligently erase unwanted elements while preserving the integrity of the surrounding areas.
Key Features
Before diving into the guide, it’s important to understand the main features that make ObjectRemover.Pro a powerful tool for photo editing:
1. AI-powered analysis: The software examines the entire image to understand context and textures.
2. Smart selection: Users can easily highlight the objects they want to remove.
3. Intelligent fill: The AI generates new pixels to seamlessly fill the space left by removed objects.
4. Multi-object removal: Users can erase multiple elements in a single session.
5. High-resolution support: The tool can handle large, high-quality images.
Preparing Your Photo for Object Removal
Before using ObjectRemover.Pro, it’s crucial to prepare your image properly. This preparation ensures the premier possible results from the AI-powered tool.
Selecting the Right Image Format
ObjectRemover.Pro supports various image formats, including JPEG, PNG, and WebP. For optimal results, use the highest quality version of your image. If you’re working with a RAW file, export it to one of the supported formats without compression.
Identifying Objects for Removal
Take a moment to carefully examine your photo and identify all the elements you wish to remove. This step helps you plan your editing process and ensures you don’t miss any unwanted objects during the removal process.
Step-by-Step Guide to Using ObjectRemover.Pro
Now that you understand the basics of ObjectRemover.Pro, let’s remove unwanted objects from photos.
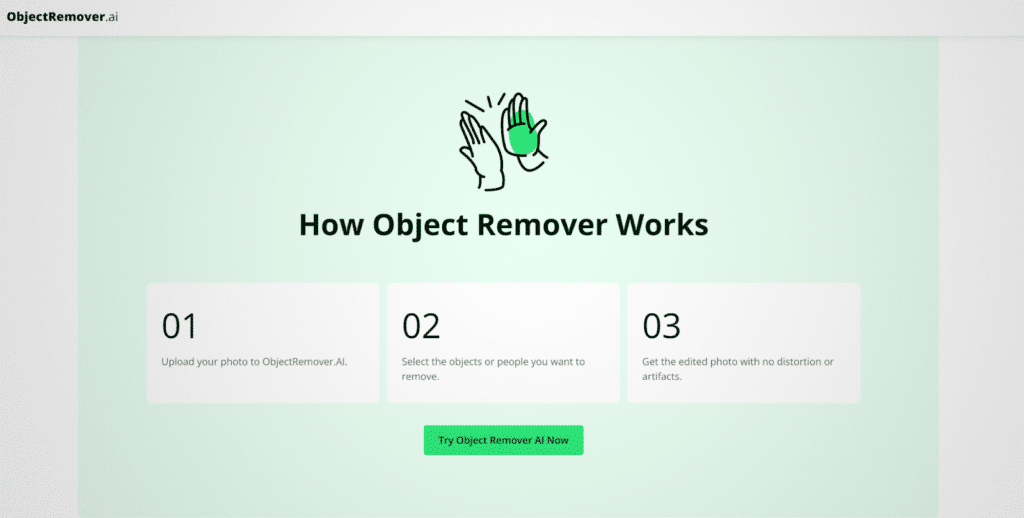
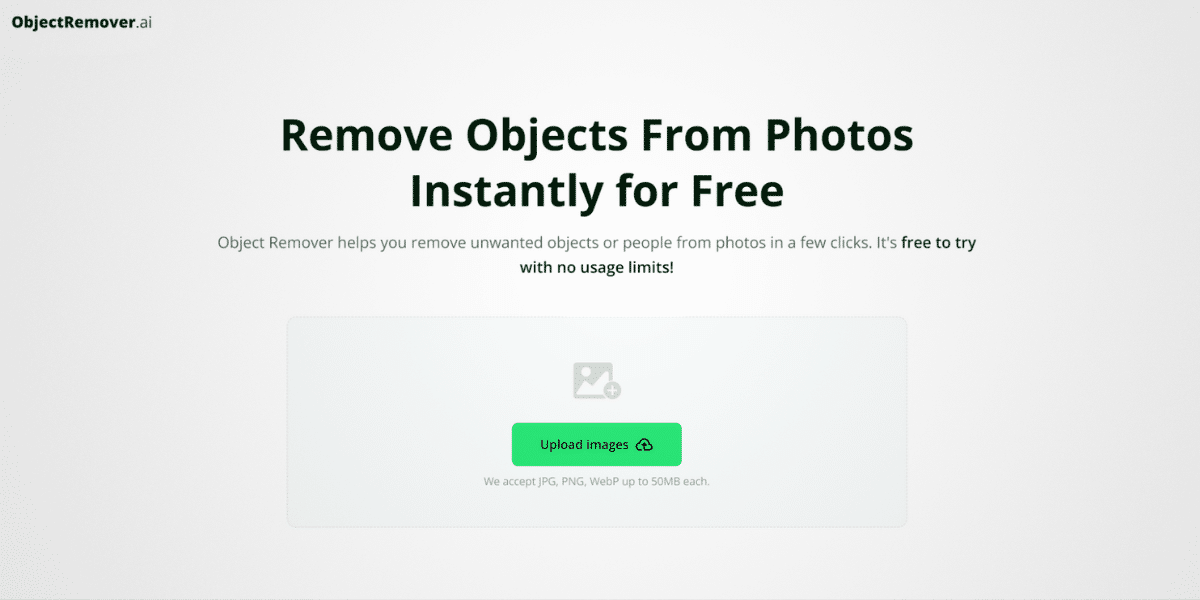
Step 1: Uploading Your Image
1. Navigate to the ObjectRemover.Pro website.
2. Look for the upload button or drag-and-drop area.
3. Select your prepared image file or drag it into the designated area.
4. Wait for the upload to complete. ObjectRemover.Pro will process the image and prepare it for editing.
Step 2: Selecting Objects for Removal
Once your image is uploaded and processed, you’ll be presented with the editing interface. Here’s how to select the objects you want to remove:
1. Use the selection tool provided by ObjectRemover.Pro. This might be a brush, lasso, or smart selection tool depending on the interface.
2. Carefully outline or highlight the object you want to remove.
3. If there are multiple objects, repeat the selection process for each one.
4. Take care to be as precise as possible with your selections, as this will impact the quality of the removal.
ObjectRemover.Pro’s AI will analyze your selections and prepare for the removal process.

Step 3: Initiating the Removal Process
With your objects selected, you’re ready to let ObjectRemover.Pro work its magic:
1. Look for a “Remove” or “Erase” button in the interface.
2. Click the button to start the AI-powered removal process.
3. Wait patiently as ObjectRemover.Pro analyzes the image and generates a fill for the removed areas.
The time this process takes can vary depending on the complexity of the image and the number of objects being removed.
Step 4: Reviewing and Refining the Results
After ObjectRemover.Pro has completed its initial pass, it’s important to carefully review the results:
1. Zoom in and examine the areas where objects were removed.
2. Look for any artifacts or unnatural-looking areas in the fill.
3. If you notice imperfections, use ObjectRemover.Pro’s refinement tools to touch up these areas.
4. For minor adjustments, you might use tools like spot healing or clone stamping if provided.
Remember that while ObjectRemover.Pro’s AI is powerful, complex scenes might require multiple passes or manual tweaks for perfect results.
Advanced Techniques with ObjectRemover.Pro
As you become more comfortable with ObjectRemover.Pro, you can explore some advanced techniques to handle more challenging scenarios.
Removing Objects from Complex Backgrounds
When dealing with intricate backgrounds, such as foliage or textured surfaces:
1. Use ObjectRemover.Pro’s smart selection tools to create a precise outline of the object.
2. If available, adjust the sensitivity of the selection tool to capture fine details.
3. Consider removing the object in multiple passes, starting with larger areas and then refining smaller details.
Handling Reflections and Shadows
Removing objects that cast shadows or appear in reflections requires special attention:
1. Select both the object and its shadow or reflection.
2. Use ObjectRemover.Pro’s advanced options (if available) to indicate connected elements.
3. After removal, carefully review the lighting in the edited area to ensure it matches the surrounding image.
Tips for Achieving Natural-Looking Results
To ensure your edited photos look as natural as possible when using ObjectRemover.Pro:
1. Work with high-resolution images for better detail preservation.
2. Remove smaller objects before larger ones in complex scenes.
3. Pay attention to lighting and ensure removed objects don’t leave unnatural bright or dark spots.
4. Use ObjectRemover.Pro’s refinement tools to blend edges seamlessly.
5. Consider the context of the removed object and ensure its absence doesn’t create logical inconsistencies in the image.
Troubleshooting Common Issues
Even with a powerful tool like ObjectRemover.Pro, you might encounter some challenges. Here are solutions to common problems:
Visible Artifacts After Removal
If you notice visible artifacts or unnatural patterns:
1. Try selecting a larger area around the object and removing it again.
2. Use ObjectRemover.Pro’s touch-up tools to blend the affected area manually.
3. Consider removing the object in smaller sections rather than all at once.
Inconsistent Lighting or Texture
When the filled area doesn’t match the surrounding image:
1. Use ObjectRemover.Pro’s adjustment tools to match the brightness and contrast.
2. If available, try the tool’s texture synthesis options to better match complex patterns.
Summary: Mastering Object Removal for Flawless Photos
ObjectRemover.Pro offers a powerful, AI-driven solution for eliminating unwanted elements from your photos. By understanding its features and following the steps outlined in this guide, you can transform your images, removing distractions and creating visually stunning results. Remember that while the tool does much of the heavy lifting, your attention to detail and willingness to refine the results will ultimately determine the quality of your edited photos. With practice and patience, you’ll be able to tackle even the most challenging object removal tasks, ensuring your photographs always look their best.
Published by: Josh Tatunay


