


A bathtub should be easy to clean, comfortable to use, and well protected from water damage. When it is chipped, hard to enter, dated, or difficult to maintain, a focused tub-area renovation can make a meaningful difference without requiring a full bathroom overhaul. Homeowners considering remodeling bathtubs can start by identifying the daily problems they want the project to solve.
The best updates balance practical needs with appearance. A new tub, surround, fixtures, storage niche, and better lighting can improve the room while letting you keep a functional vanity, toilet, or flooring. Planning around moisture control and accessibility from the beginning helps prevent expensive corrections later.
Why a Tub Update May Be Worth Considering
An outdated tub can affect more than a bathroom’s look. Scratched finishes hold grime, stained caulk makes cleaning frustrating, and awkward layouts can turn a simple shower into an everyday inconvenience. In many homes, focusing on the wet area makes more sense than replacing every fixture in the room.
For example, a family may keep a vanity that still provides useful storage and retain flooring in good condition, while replacing a worn tub and damaged wall surround. That targeted scope can address leaks, improve shelf space, brighten the bathing area, and create a more polished appearance without unnecessarily expanding the project.
Warning Signs That a Tub Needs Attention
Some tub problems are easy to see, while others suggest trouble behind finished surfaces. Watch for cracks, chips, stubborn stains, or a tub floor that flexes or feels soft underfoot. These conditions can worsen with regular use.
• Caulk or grout repeatedly separates, cracks, or darkens.
• Musty odors linger near the tub, surround, or adjacent closet.
• Water stains appear on nearby ceilings, walls, baseboards, or flooring.
• The drain runs slowly, fixtures move when handled, or leaks have occurred more than once.
• A high tub wall makes entering and exiting feel unsteady.
Surface damage does not always show what is happening behind a wall or beneath the tub. If there are signs of dampness, deterioration, or recurring leaks, have the area assessed before covering it with new materials.
Safety Features That Support Daily Use
Safety features are most useful when they support the way people actually move through the room. A bathroom designed for current needs can also be more comfortable for children, guests, older adults, and anyone dealing with temporary or long-term mobility limitations.
Useful Features to Consider
• Lower entry options: A low-threshold shower or walk-in tub can reduce the height of the step into the bathing area.
• Slip-resistant surfaces: Textured tub floors and appropriate bathroom flooring improve traction where water is likely.
• Properly mounted grab bars: Bars should be placed where support is needed and fastened to suitable wall blocking or framing.
• Seating and handheld controls: A built-in seat and handheld showerhead can make bathing easier and more flexible.
• Lighting and storage: Bright, even light and reachable shelves reduce the need to stretch, bend, or search for essentials.
Moisture, Ventilation, and Mold Prevention
A bathroom can look clean while moisture collects in wall cavities, under flooring, or around plumbing openings. Condensation, slow leaks, and weak airflow can lead to peeling paint, swollen trim, deteriorated materials, and mildew odors. During a renovation, follow sound bathroom ventilation practices by confirming that the exhaust fan works effectively and directs humid air outdoors, not into an attic or enclosed cavity.
• Run the exhaust fan while bathing and for a period afterward.
• Repair leaking valves, drains, showerheads, and supply lines promptly.
• Seal wet-area joints correctly and inspect them as part of regular cleaning.
• Watch for dark seams, bubbling paint, warped flooring, or persistent odors.
Effective repairs begin with the water source. The practical guidance for controlling moisture and mold is simple. Clean-up alone is not enough if leaks, condensation, or poor drainage continue. Correcting the underlying issue helps protect the new tub area and the rooms around it.
Choosing a Tub Style That Fits the Space
No single tub style works for every household. Start with the room dimensions, door openings, plumbing placement, and the amount of clear floor space needed for safe movement.
• Alcove tubs work well in many standard layouts and pair easily with a shower surround.
• Soaking tubs offer greater depth for homeowners who prioritize bathing comfort.
• Corner tubs can suit certain compact or unusually shaped rooms.
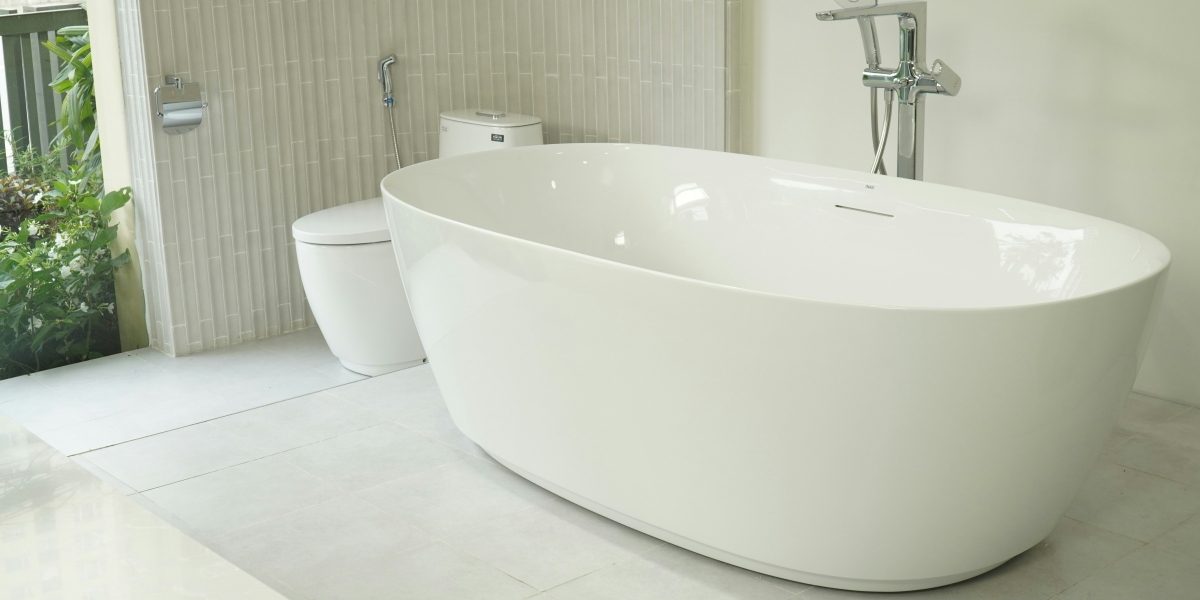
• Freestanding tubs create a focal point but need clearance for cleaning and plumbing access.
• Walk-in tubs emphasize easier entry and seated bathing.
• Shower-tub combinations remain a flexible choice for households that use both options.
Comparing Materials and Surface Finishes
Material decisions affect the experience long after installation day. Consider stain and scratch resistance, heat retention, cleaning requirements, slip resistance, repair options, weight, and the quality of seams where the tub meets the walls.
A lower initial price does not always mean a lower lifetime cost. A finish that stains easily, requires frequent repairs, or needs replacement sooner can become more expensive than a durable option that is easier to maintain. If selecting a heavier tub, confirm that the floor structure can support its weight when filled with water.
How to Plan the Project
1. List the problems: Note leaks, access concerns, cleaning frustrations, poor storage, and visible damage.
2. Set project limits: Decide whether the work includes only the tub area or nearby flooring, fixtures, and lighting.
3. Measure carefully: Record room dimensions, wall heights, doorway widths, and plumbing locations.
4. Rank priorities: Identify what matters most, such as safety, durability, appearance, speed, or budget.
5. Request detailed estimates: Confirm demolition, disposal, labor, plumbing, materials, cleanup, and potential repairs.
6. Review the agreement: Understand the schedule, warranty terms, payment structure, permits, and change-order process.
Common Planning Mistakes to Avoid
• Choosing a tub before measuring the full route through doors and hallways.
• Ignoring a weak subfloor or signs of water damage.
• Installing new finishes over damp or deteriorated materials.
• Adding grab bars without planning for secure wall support.
• Forgetting recessed niches, shelves, hooks, and towel storage.
• Selecting a contractor solely because the estimate is the lowest.
• Failing to clarify responsibility for permits, inspections, and debris removal.
Questions to Ask Before Work Begins
• Will damaged materials be removed, and how will hidden damage be handled?
• Will the plumbing layout remain in place or require changes?
• How will the tub, wall joints, and plumbing penetrations be protected from leaks?
• Which surfaces need sealing or special cleaning products?
• What warranties apply to the products and workmanship?
• Who completes the final inspection, and what is the expected project timeline?
A Practical Path Forward
A successful tub update starts with clear goals, not a single product choice. By addressing existing damage, planning for moisture control, improving safety, and defining the work in detail, homeowners can create a bathing area that looks better, functions more reliably, and serves the household for years to come.