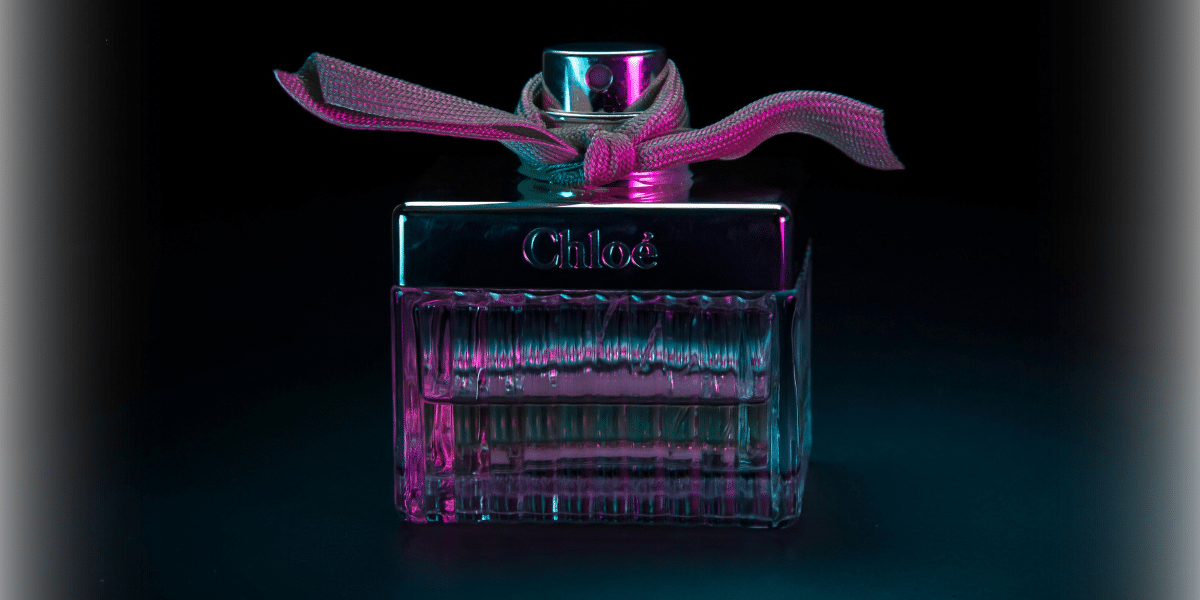
Reed diffuser kits offer a convenient and stylish way to add continuous fragrance to your home or office space. These kits typically include a glass bottle filled with scented oil and reed sticks that absorb and diffuse the scent into the air.
Assembling a reed diffuser kit is straightforward and requires minimal effort. This step-by-step guide will walk you through assembling and using a reed diffuser effectively.
Step 1: Gather Your Supplies
Before you begin assembling your reed diffuser kit you buy in Scent Australia Home, gather all the necessary supplies:
- Reed diffuser kit: This includes a glass bottle filled with scented oil and reed sticks.
- Surface protector: Place a coaster or small tray under the diffuser bottle to protect surfaces from any potential oil drips.
- Scissors (optional): Use scissors to trim the reed sticks to your desired length if necessary.
Step 2: Prepare the Diffuser Bottle
Start by preparing the glass bottle that contains the scented diffuser oil:
- Remove the bottle cap: Unscrew or remove the cap from the bottle containing the scented oil. Some bottles may have a plastic stopper or seal that needs to be removed before inserting reed sticks.
- Inspect the bottle: Check the bottle for any dust or debris that may have accumulated. Wipe the inside of the bottle with a clean cloth if necessary.
- Optional: If the diffuser kit includes decorative elements such as colored reeds or embellishments on the bottle, take a moment to appreciate the aesthetic appeal they add to your decor.
Step 3: Insert the Reed Sticks
Once the bottle is prepared, it’s time to insert the reed sticks that will absorb the scented oil and diffuse fragrance into the air:
- Remove the reed sticks from packaging: Carefully remove the reed sticks from their packaging. Handle them gently to avoid bending or damaging the porous ends.
- Insert reed sticks into the bottle: Insert the reed sticks into the bottle of scented oil. Give them a few minutes to soak in the oil.
- Flip the reed sticks: After a few minutes, flip the reed sticks so that the saturated ends are exposed to the air. This helps initiate the diffusion process.
- Adjust the number of reeds: Depending on the size of the room and desired fragrance intensity, you can adjust the number of reed sticks used. More reeds will release more fragrance, while fewer reeds will provide a more subtle scent.
Step 4: Place the Reed Diffuser
Choose an appropriate location to place your reed diffuser kit for optimal fragrance distribution:
- Choose a well-ventilated area: Select a place with good air circulation to help disperse the fragrance throughout the room.
- Avoid direct sunlight and heat sources: Place the reed diffuser away from direct sunlight, heat vents, and drafty areas. Direct sunlight and heat can cause the fragrance oil to evaporate more quickly, reducing the longevity of the diffuser.
- Protect surfaces: To prevent any potential oil drips or spills, place the diffuser bottle on a coaster, small tray, or decorative plate.
Step 5: Maintain and Refresh the Diffuser
To ensure your reed diffuser continues to release fragrance effectively, follow these maintenance tips:
- Flip reed sticks regularly: Every few days or once a week, flip the reed sticks to refresh the fragrance. This helps maintain a consistent scent level in the room.
- Replace reed sticks: Over time, reed sticks may become saturated and less effective at diffusing fragrance. If you notice the scent fading, consider replacing the reed sticks with new ones.
- Top up the oil: If the oil level in the bottle decreases and you want to extend the life of your diffuser, you can top it up with additional fragrance oil. Be mindful not to overfill the bottle, as this can cause the oil to spill.
- Clean the bottle: If you decide to change fragrance oils or when the bottle is empty, clean it thoroughly before refilling. Use warm, soapy water to remove any residue and allow the bottle to dry completely before refilling.
Step 6: Enjoy the Fragrance
Once assembled and placed, your reed diffuser kit will continuously release fragrance into the air, creating a welcoming ambiance in your space. Enjoy the subtle and long-lasting scent as it enhances the atmosphere of your home or office.
Tips for Using Reed Diffuser Kits Effectively
- Experiment with placement: Try placing the reed diffuser in different locations within the room to determine where the fragrance disperses most effectively.
- Mix and match fragrances: Some reed diffuser kits allow you to mix different fragrance oils to create unique scent combinations. Explore and experiment with different blends to find your favorite.
- Be patient: The fragrance may take a few hours to fully disperse and fill the room after initially setting up the reed diffuser. Allow time for the scent to permeate the space.
Personalizing Your Space with Long-Lasting Fragrance
Assembling a reed diffuser kit is a simple and enjoyable process that allows you to enhance your living or working environment with continuous fragrance. By following these steps and tips, you can effectively set up and maintain your reed diffuser to enjoy long-lasting scents throughout your space.
Whether you prefer floral, citrus, or woody aromas, reed diffuser kits offer a versatile and stylish way to create a welcoming atmosphere in any room. Experiment with different fragrances and placement options to find the right combination that suits your personal taste and decor style.
Published by: Nelly Chavez


