

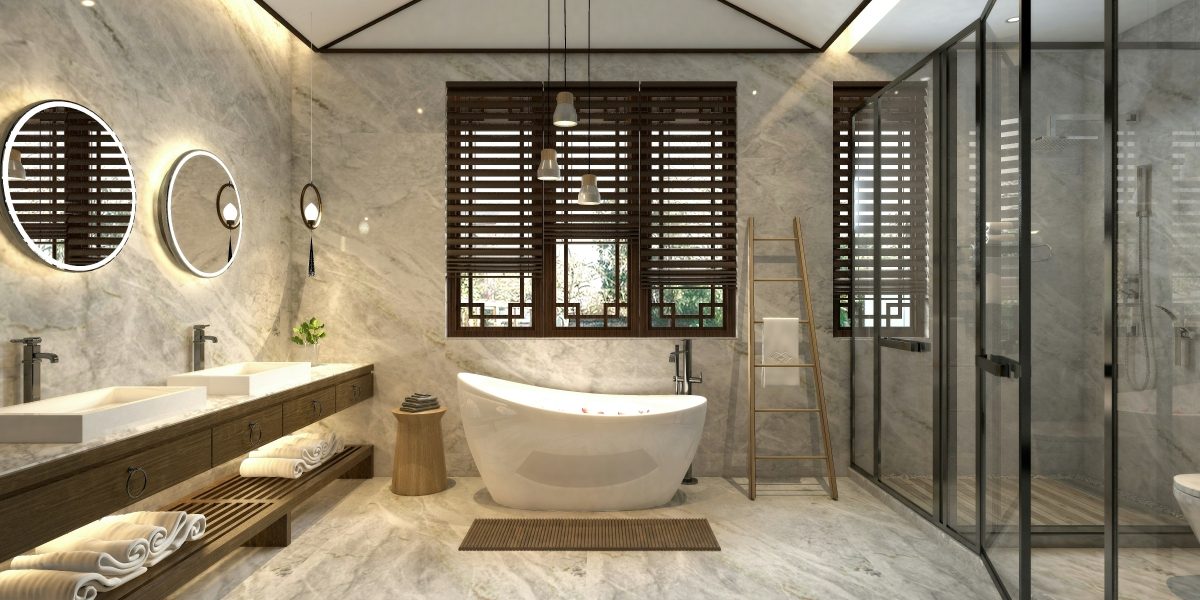

Key Takeaways
• Start with practical daily problems before selecting decorative finishes.
• Improve safety with easier entry, solid support features, lighting, and slip-resistant surfaces.
• Choose materials that minimize grout use, resist moisture, and simplify routine cleaning.
• Include ventilation, storage, a written scope, and a contingency fund in the plan.
• Design for current comfort while allowing for changing needs later.
A bathroom should support everyday routines without creating extra work, discomfort, or avoidable hazards. A thoughtful bathroom remodel starts with the problems your household faces now, then balances access, moisture control, storage, durability, and appearance.
The strongest plans do not begin with a finish color or a trendy faucet. They begin by asking how the room is used, what feels difficult, and which improvements will still matter years from now. A well-designed update can feel polished while making bathing, cleaning, and moving through the space simpler.
Why Bathroom Planning Matters More In 2026
Bathrooms are often compact rooms with many jobs. They need support for bathing, grooming, toiletry storage, and laundry-related tasks, and sometimes assistance from a caregiver. Rushed decisions can leave homeowners with poor drainage, dim corners, difficult cleaning, or a layout that does not fit their needs. The best remodel is attractive on day one and practical every day after that.
Step 1: List The Problems The Remodel Should Solve
Before comparing showers or wall finishes, make a room-by-room checklist. Note whether the tub wall is difficult to step over, the floor becomes slick, humidity lingers, grout is stained, storage is out of reach, or lighting creates glare. Also look for warning signs such as leaks, soft flooring, peeling paint, damaged drywall, or a musty smell.
Sort every concern into three groups: must-fix, would-help, and nice-to-have. This simple exercise protects the budget when it is time to choose between a needed plumbing repair and an optional decorative upgrade.
Step 2: Choose The Right Bathing Layout
• Tub replacement: Useful for households that regularly bathe or for those with young children.
• Tub-to-shower conversion: Can make sense when the existing tub wall has become inconvenient to cross.
• Walk-in shower: Offers easier entry and room for seating, shelves, and flexible control placement.
• Barrier-free shower: May be appropriate when wheelchair access, caregiver assistance, or future mobility is a priority.
The existing footprint, drain position, plumbing, floor height, and local code requirements can all affect what is realistic. Confirm those limits before committing to a layout.
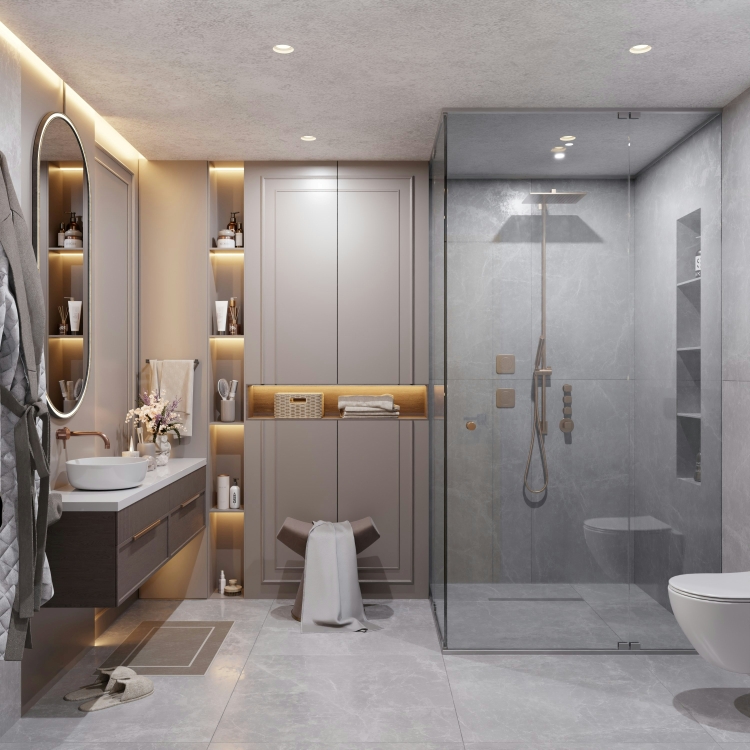
Photo: Unsplash.com
Step 3: Add Safety Features That Look Natural
Safety upgrades can blend into a contemporary bathroom rather than looking clinical. Consider textured, slip-resistant flooring in wet areas, a low-threshold entry where feasible, a handheld showerhead, and controls that are within reach before stepping into the spray. Built-in or fold-down seating can add comfort without taking over the room.
Grab bars should be fastened to proper structural backing, not simply mounted to finished wallboard. Bright, even lighting and visual contrast between floors, walls, and controls also make the room easier to navigate. The CDC’s fall-prevention guidance includes home changes, such as adding support near the bathroom and toilet areas.
Step 4: Pick Materials That Reduce Daily Work
Low-maintenance materials reduce effort, but they do not eliminate the need for cleaning. Nonporous wall systems and easy-wipe counters help limit staining and moisture absorption. Larger tiles can reduce the number of grout lines, while durable, corrosion-resistant hardware holds up better in humid conditions. Select floor textures carefully: enough traction is helpful, but deep patterns can trap dirt.
Ask how drain covers, access panels, and fixtures will be cleaned or serviced. A beautiful surface is less useful if ordinary maintenance requires difficult disassembly.
Step 5: Improve Ventilation And Moisture Control
Moisture management should be addressed before new finishes are applied to the walls. Check that the exhaust fan works properly and vents outdoors, then consider a timer switch so it continues running after a shower. Repair plumbing leaks before installation, and investigate recurring condensation on windows, ceilings, mirrors, or walls.
The EPA’s indoor-air guidance for remodeling emphasizes controlling moisture and using appropriate ventilation to help protect indoor conditions and finishes.
Step 6: Plan Storage Before The Walls Close
Storage is easier to add during construction than afterward. Recessed shower niches keep bottles off the floor. Vanity drawers often make daily items more accessible than deep cabinets, and a mirrored cabinet can hold smaller products without crowding the counter. Keep everyday items between waist and shoulder height, and reserve room for towels, cleaning supplies, spare toiletries, and any mobility aids.
Step 7: Build A Realistic Remodel Budget
A complete budget should account for demolition, disposal, plumbing, electrical work, lighting, waterproofing, flooring, wall finishes, fixtures, permits, inspections, and cleanup. Keep a reserve for hidden damage behind walls or below flooring. A detailed estimate should identify labor, materials, allowances, exclusions, payment timing, and the process for approving change orders.
Step 8: Decide What Can Be Done As A DIY Project
Homeowners may be able to paint, remove accessories, empty cabinets, choose finishes, and prepare the work area. Plumbing, electrical changes, waterproofing, structural work, ventilation, and major demolition are usually better handled by qualified professionals. Check local permit rules before work starts, since even a small project may require inspection when systems are altered.
Questions To Ask Before Hiring A Remodeler
• Who will perform the work, and are the required licenses and insurance current?
• How will waterproofing, exhaust ventilation, drainage, and grab-bar support be handled?
• What happens if hidden water damage is found?
• What materials, warranties, cleaning requirements, and project changes are included in writing?
Common Mistakes To Avoid
• Choosing style before resolving access, drainage, leaks, or humidity.
• Using smooth flooring where water commonly collects.
• Installing support bars without adequate wall blocking.
• Ignoring a noisy but ineffective exhaust fan.
• Starting demolition before fixtures, materials, and scope details are confirmed.
Frequently Asked Questions
Is a Tub-to-Shower Conversion Right for Every Home?
No. The best choice depends on household bathing habits, room size, plumbing, accessibility goals, and whether keeping a tub matters to the family.
Are Low-Maintenance Wall Materials Better Than Tile?
Neither is automatically better. Wall panels can reduce grout cleaning, while tile offers broad design flexibility and localized repair options. Installation quality matters with both.
How Long Should A Bathroom Exhaust Fan Run?
Run it during bathing and afterward according to the manufacturer’s instructions and local requirements. A timer can make this routine easier.
Should A Bathroom Be Designed For Aging In Place?
Features such as better lighting, wider clearances, blocking for future grab bars, and easier shower entry can improve comfort now while preserving options later.
What A Well-Planned Bathroom Remodel Delivers Over Time
A successful bathroom remodel makes daily life safer, simpler, and more comfortable. Start with real household needs, address moisture and structural issues first, choose durable materials, and insist on a clear written plan. Good bathroom design is not only about appearance. It is about how reliably the room works over time.